Behind the scenes & process: Stamps
Added 2022-08-04 14:53:22 +0000 UTCFrom this post onwards, the process explanation will be written more concisely. It saves the time spent on writing each month's content while streamlining the reading time for everyone!
1. Composition draft

The fourth picture in the series ‘Yesterday Once More’ comes with the theme of stamps. A girl and a boy are leafing through the various stamps they have collected, while seated with their backs against one another.
2 Photo Materials & Color reference
The stamp references came directly from the stamps I have already collected at home. They are then photographed and stretched to be placed on the canvas.

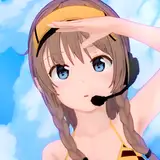
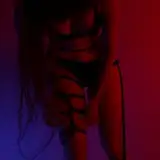
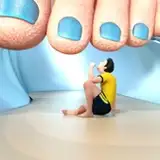
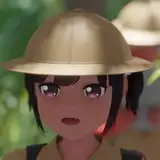
3 Model Assist

Refer to the previous draft to build a corresponding model.
This time, it’s a special case: the composition looks better after flipping the camera instead!
So I adjusted the picture to a purely top-down view.
4 Determine the composition and start coloring
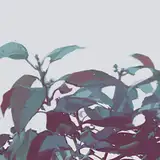
Start drawing according to the model & color reference. As I mentioned before, the background base color was derived from the sky’s color in the reference paintings. The little girl's red dress is also inspired by the red building on the right.


Create a new layer on top of the base colors for the shadows. Adjust the layer mode to Darken (Da). Make slight color adjustments to the previous model photo and place the layer below the existing figure layer.

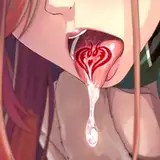
Continue to add decorative stamps to enrich the composition and colors of the picture.


5 A round of refinement
Merge the existing layers and import them to the filter APP MIX for color grading.
Place the image with a fitting filter effect on top of the original layer and optimize the color match by adjusting the opacity, etc.

A round of refinement is then added to optimize the character modeling and repair the rough edges.
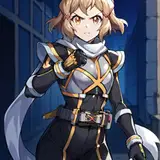
6 Second round of refinement
The second round of refinement is where I redrew some of the character’s shapes. The girl's hand movements are more defined, whilst the boy's head angle is fine-tuned, and the hairstyle is modified to be more in line with the real-life model.

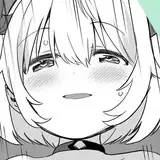
7 Final adjustments
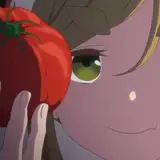
Final adjustment. I added a gradient of ambient light from the white ground on the girl's face, to brighten it up. The overall darkness of the image was also slightly deepened to enhance the contrast.

The work is now successfully completed!
-
The condensed version is shown above.
In fact, how concise it’d be would depend on what kind of breakthrough I had in the drawing process. During the past few months, I often felt that "I think I've written something similar before" or "there's nothing new". At this point, a condensed version of the post would be normal. If there is a subsequent drawing that sparks something different, I would have lots of insights to share with you!! > <
Still sending thanks to my friend Valerie for helping me with the English translations. Thank you for your support!
See you next time~