ILLUSTRATION PROCESS PART I : TRADITIONAL WORK
Added 2018-09-07 23:30:04 +0000 UTCOver the years, my process has mutated from the clear and straightforward approach of my early childhood:
Step 1: Tear page from coloring book.
Step 2: Turn page over and apply crayon directly to back of paper
...And this delightfully simple method has turned into now an overly-complex, needlessly technical mess that involves hundreds of extra steps and expensive, new-fangled gadgetry.
So, I will break this post into 2 parts to keep things more manageable. Today’s post is the traditional side, the place where I begin most of my work, and my next post will focus on the digital side, the place where I end most of my work.
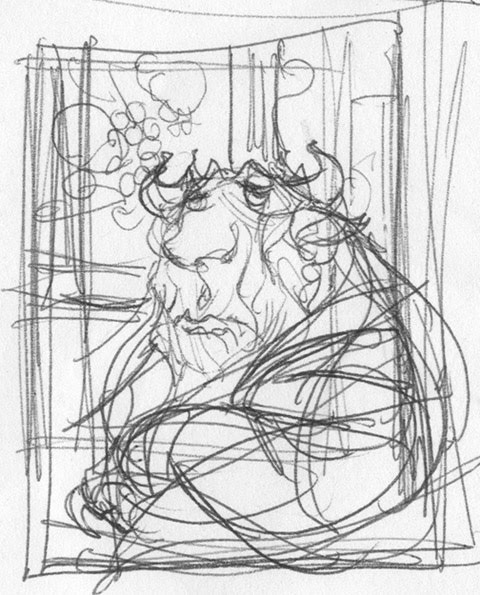
Thumbnail Sketch on Napkin
In the conceptual stages I do simple scribbles to help me find a compositional arrangement that seems pleasing. For conceptual work like this I go with whatever tools happen to be on hand.

Rough Drawing
Once I establish a conceptual drawing that I like I do studies of most of the faces and figures. I want to really nail the expressions before moving on to the rest of the drawing. I always consider this one of the most important elements of the image. As Rockwell pointed out, “if you get the face and hands right, they’ll forgive you for the rest.”
These studies are also a great time to make decisions on which lighting arrangement will be the most advantageous for the characters.
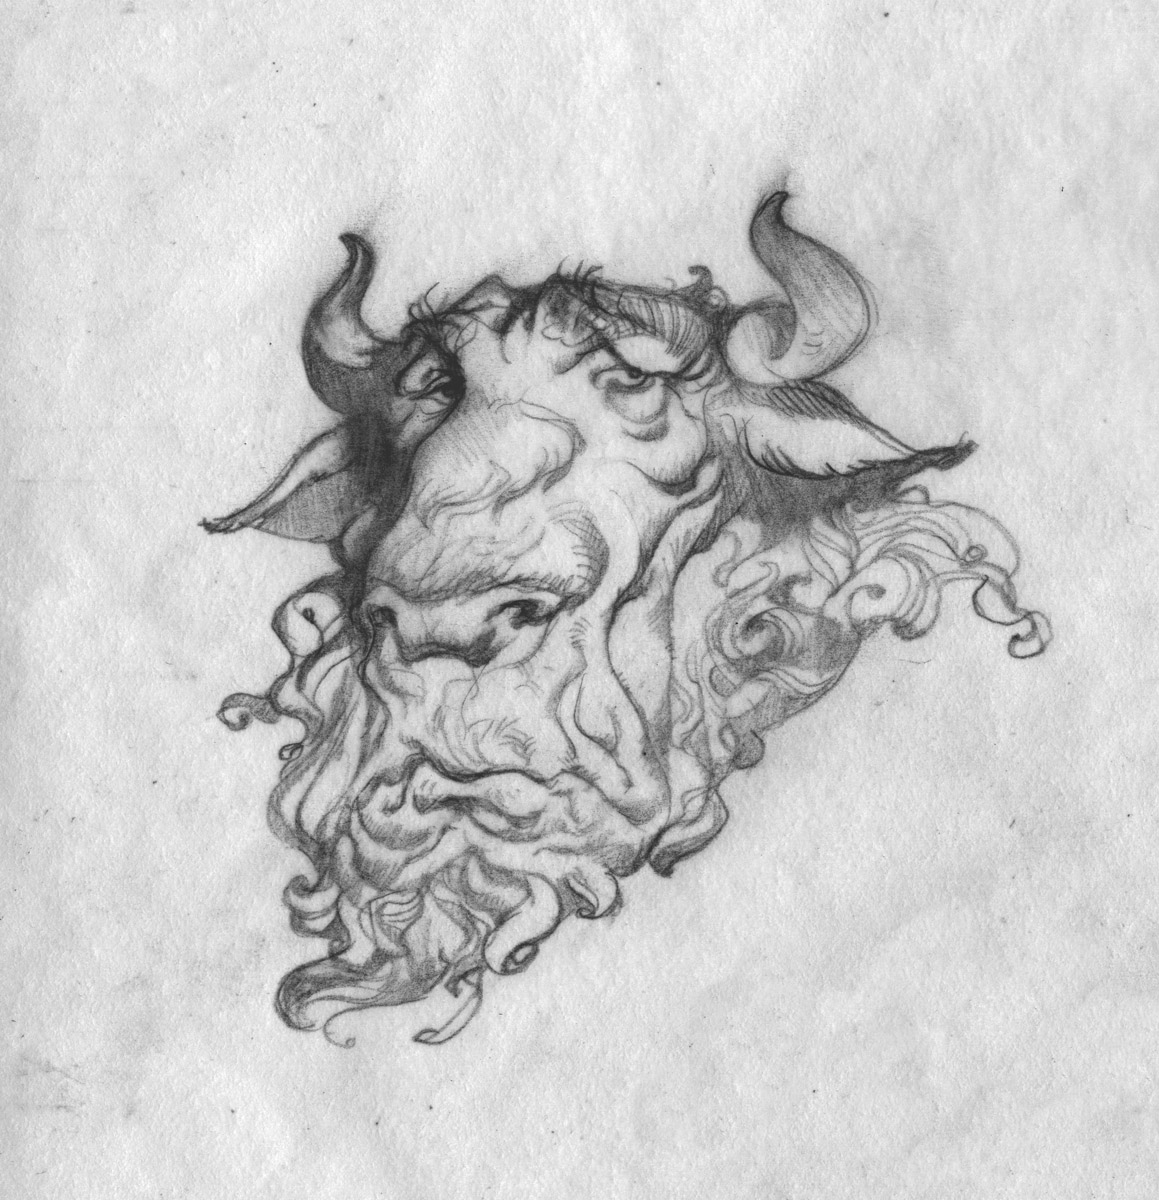
Study: General’s HB Pencil on Strathmore Vellum
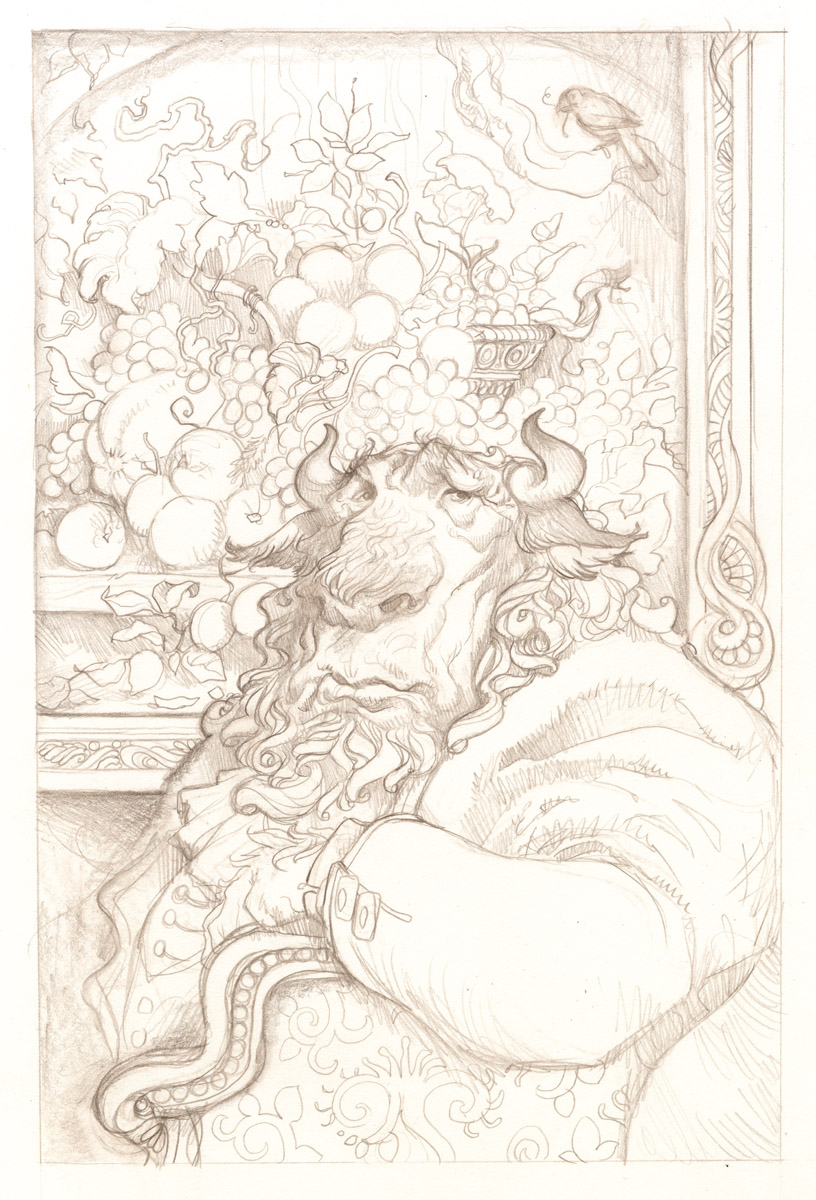
Tight Drawing
Color Pencil on Strathmore Bristol
For the watercolor stage I stick very close a process laid out by Peter De Seve in his excellent Step-by-Step Graphics article (Vol.10, no. 6) about his technique. (I highly recommend it if you can find it.) De Seve’s overall method in the article carries a great emphasis on preserving the drawing, which is one of the most alluring aspects of it for me. You can see from his work how well it allows him to play up his characters expressions and designs.I will sometimes (and this is one of those times) apply workable fixative to the drawing before starting the watercolor. Fixative will leave the surface a little less workable for the watercolor, (the surface tends to be less absorbent and may bead up) but will keep the drawing much more intact. Since I weep bitter tears to see the drawing slowly disintegrate, I am generally willing to risk it.
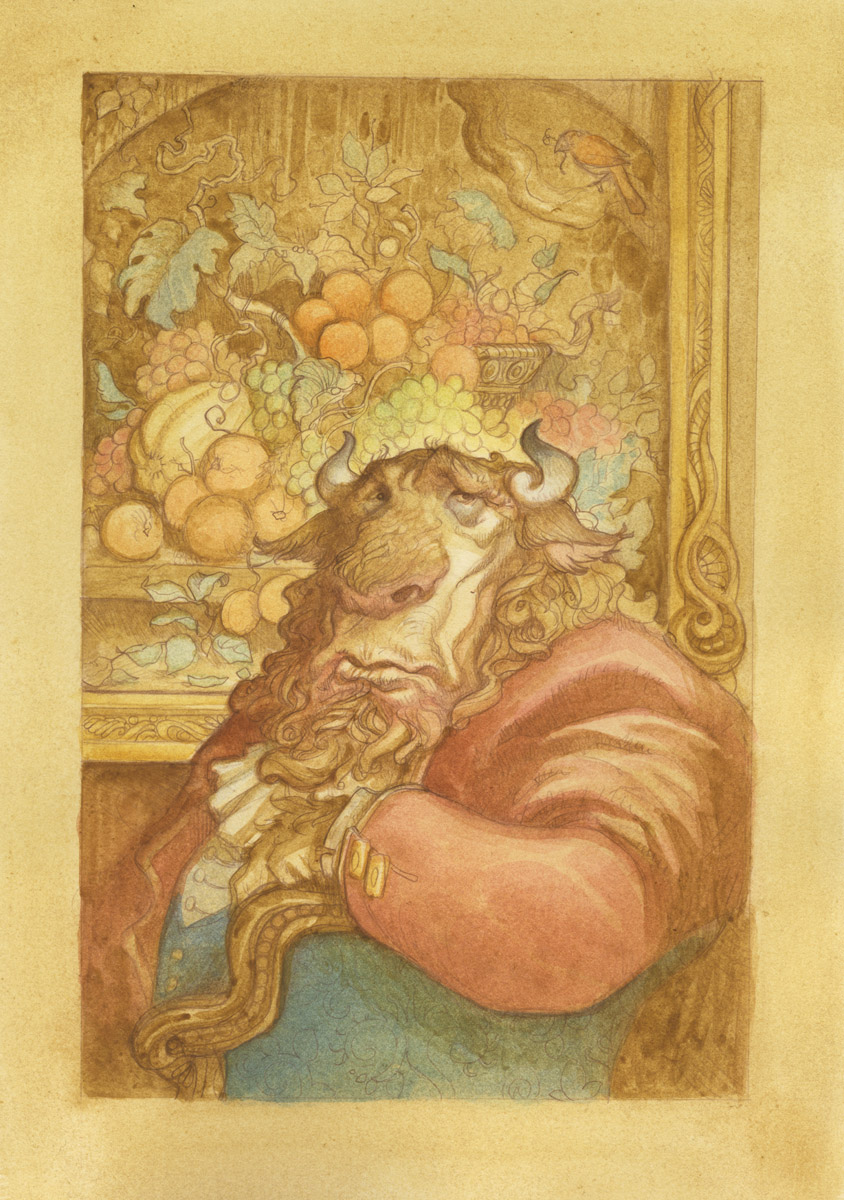
Watercolor on Strathmore Bristol
The watercolor process begins with washes of earth colors to tone the paper, applied wet into wet. After this wash has dried, color and value are slowly worked up wet into wet or wet into damp. One of the nice things about this approach is that it allows folks like me, who like workign in value, but have a foggy command of color, to experiment a lot as they work. If a color doesn’t look right it is really easy to adjust.
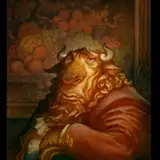
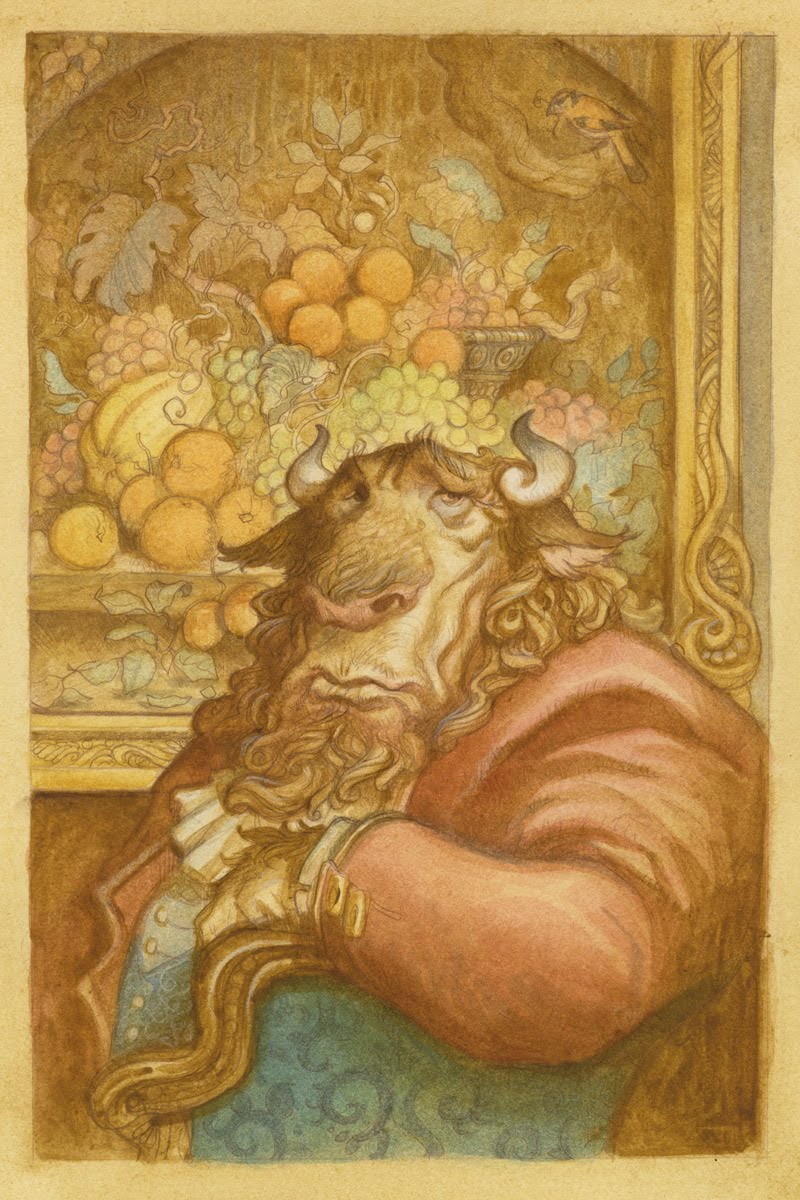 Final Traditional Painting
After this carefully planned stage I panic and throw all the old illustrator tricks at the piece to wrestle it into the right shape. (These tricks include, but are not necessarily limited to: Ink, pencil, acrylic, markers, badgering, lawsuits, intercessory prayer, harsh language, oaths, gouache, threats and even blows)
Next Post: Part II: Digital Trickery